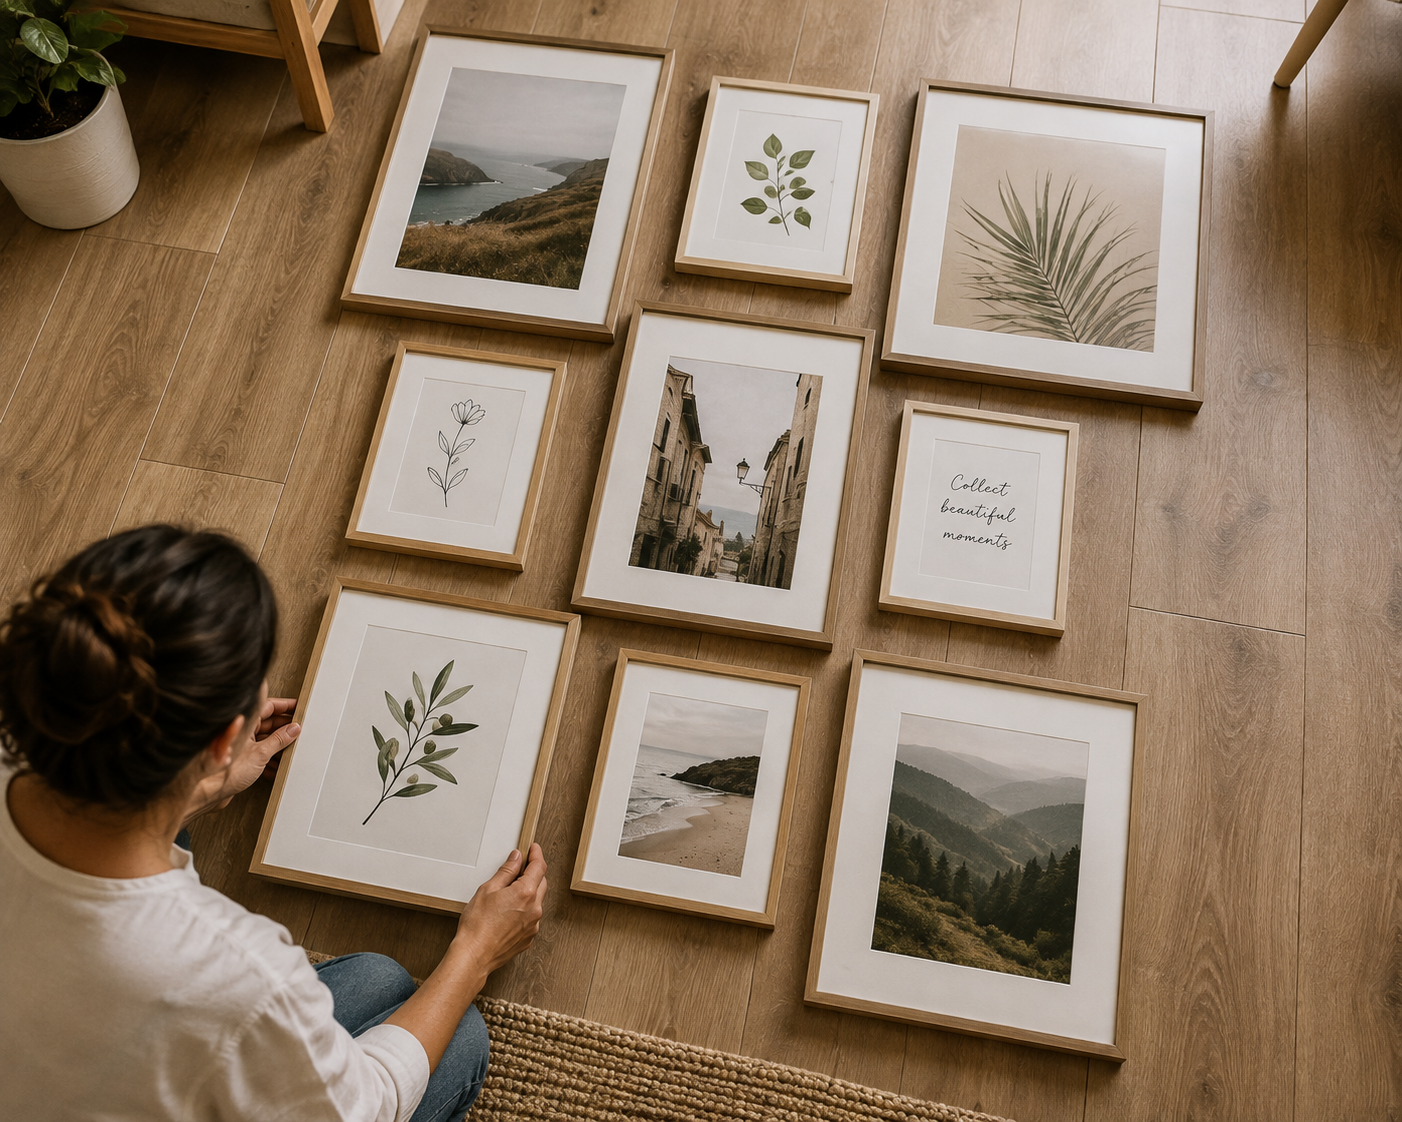
How to Plan a Gallery Wall Before You Put a Single Nail In
Disclosure: this post contains affiliate links. If you buy something through one, I may earn a small commission at no extra cost to you.
I've hung a gallery wall twice in the same apartment. The first time I did it the way most people do held a frame up, eyeballed it, put a nail in, stepped back, decided it was slightly wrong, moved it.
Nine frames later the wall had about twenty holes in it and the arrangement still looked accidental. I patched it, repainted, and did the whole thing again properly six weeks later.
The second attempt took ninety minutes, produced nine holes, and I haven't touched it since. Almost all of that ninety minutes was planning. The hanging part takes about fifteen.
Step 1: Decide what kind of wall it is
Two broad approaches, and picking one before you start saves a lot of second-guessing.
Grid. Same-size frames, even spacing, arranged in rows and columns. Calm, orderly, forgiving of mismatched artwork because the structure does the work. Best if your images are visually busy or unrelated.
Organic. Mixed sizes arranged around a central anchor piece. Looser, more personal, harder to get right. Best if you have pieces of genuinely different sizes and a strong one to build around.
The mistake is trying to do both a grid that isn't quite a grid reads as a failed grid. Commit.
If you're unsure, do a grid. It's much harder to get wrong and it looks intentional even when the contents are random.
Step 2: Measure the wall and mark your boundary
Get the wall's usable dimensions not the whole wall, the part you're actually filling.
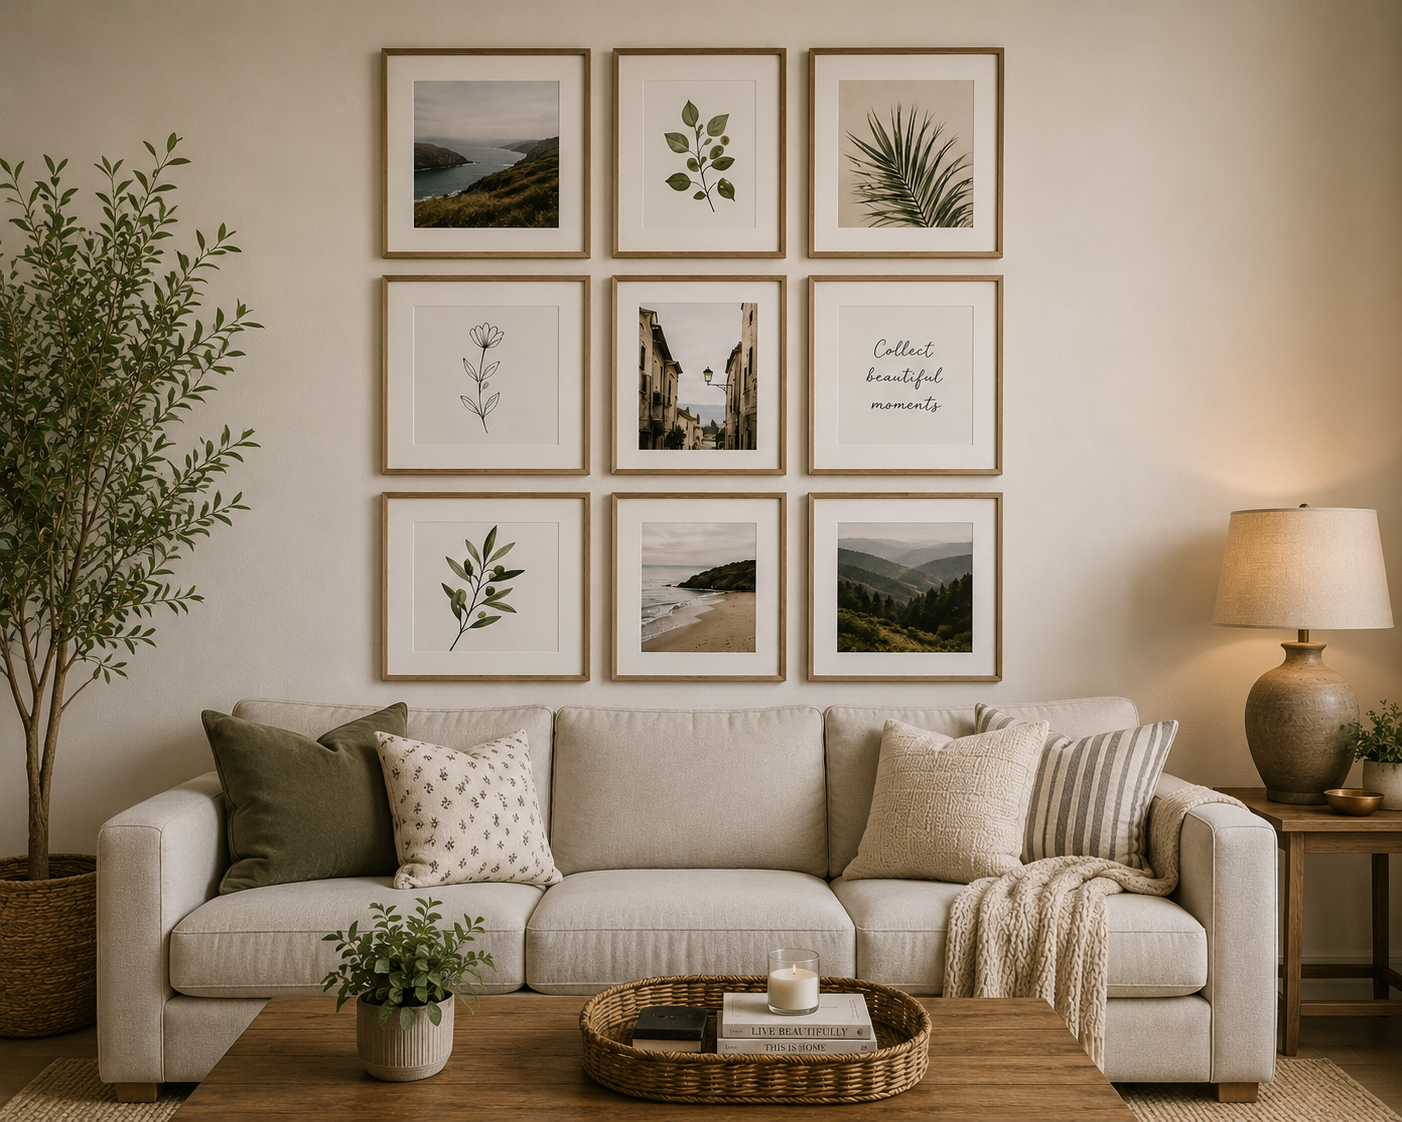
Above a sofa: the arrangement should span roughly two-thirds to three-quarters of the sofa's width. Narrower than that looks stranded; wider looks like it's escaping.
On an open wall: leave a clear margin. At least 8 to 12 inches of blank wall on each side of the arrangement, more if the wall is large.
Vertically: the whole group is treated as one piece of art, so its combined center should sit at the standard height which is lower than almost everyone hangs it → You're Hanging Your Art Too High.
Write the numbers down. This rectangle is now your canvas, and everything has to fit inside it.
Step 3: Lay it out on the floor
This is the part that makes the difference, and almost nobody does it.
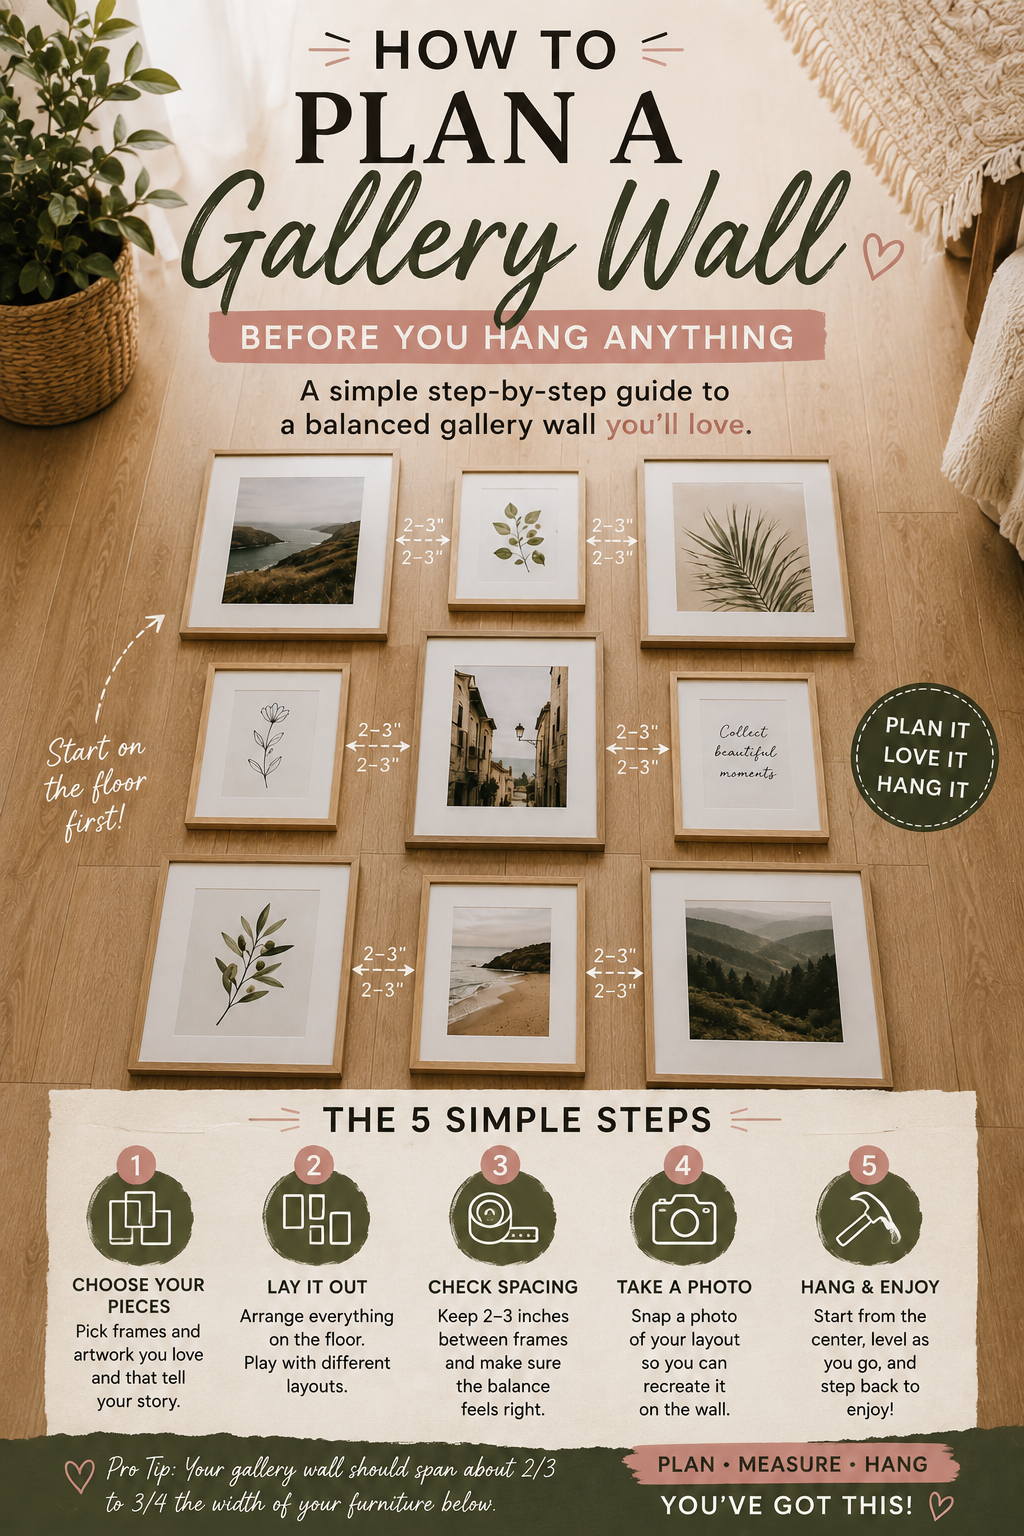
Clear a floor space the same size as your wall rectangle. Use painter's tape to mark the boundary if it helps. Then arrange the actual frames inside it.
Working method:
- Start with the largest piece. Slightly off-center is usually better than dead center. Off-center creates movement; dead center creates a bullseye.
- Balance visual weight, not size. A small dark image weighs as much as a larger pale one. Distribute the dark and busy pieces so they don't cluster.
- Keep spacing consistent. 2 to 3 inches between frames for most arrangements. Closer than 2 and it reads as clutter; wider than 4 and the pieces stop being a group.
- Align something. Even in an organic layout, some edges should line up a shared top line across a row, or a shared vertical edge down one side. That invisible alignment is what separates "curated" from "scattered."
Then shuffle. Move things. Swap positions. Take your time this is free, and it's the only stage where changing your mind costs nothing.
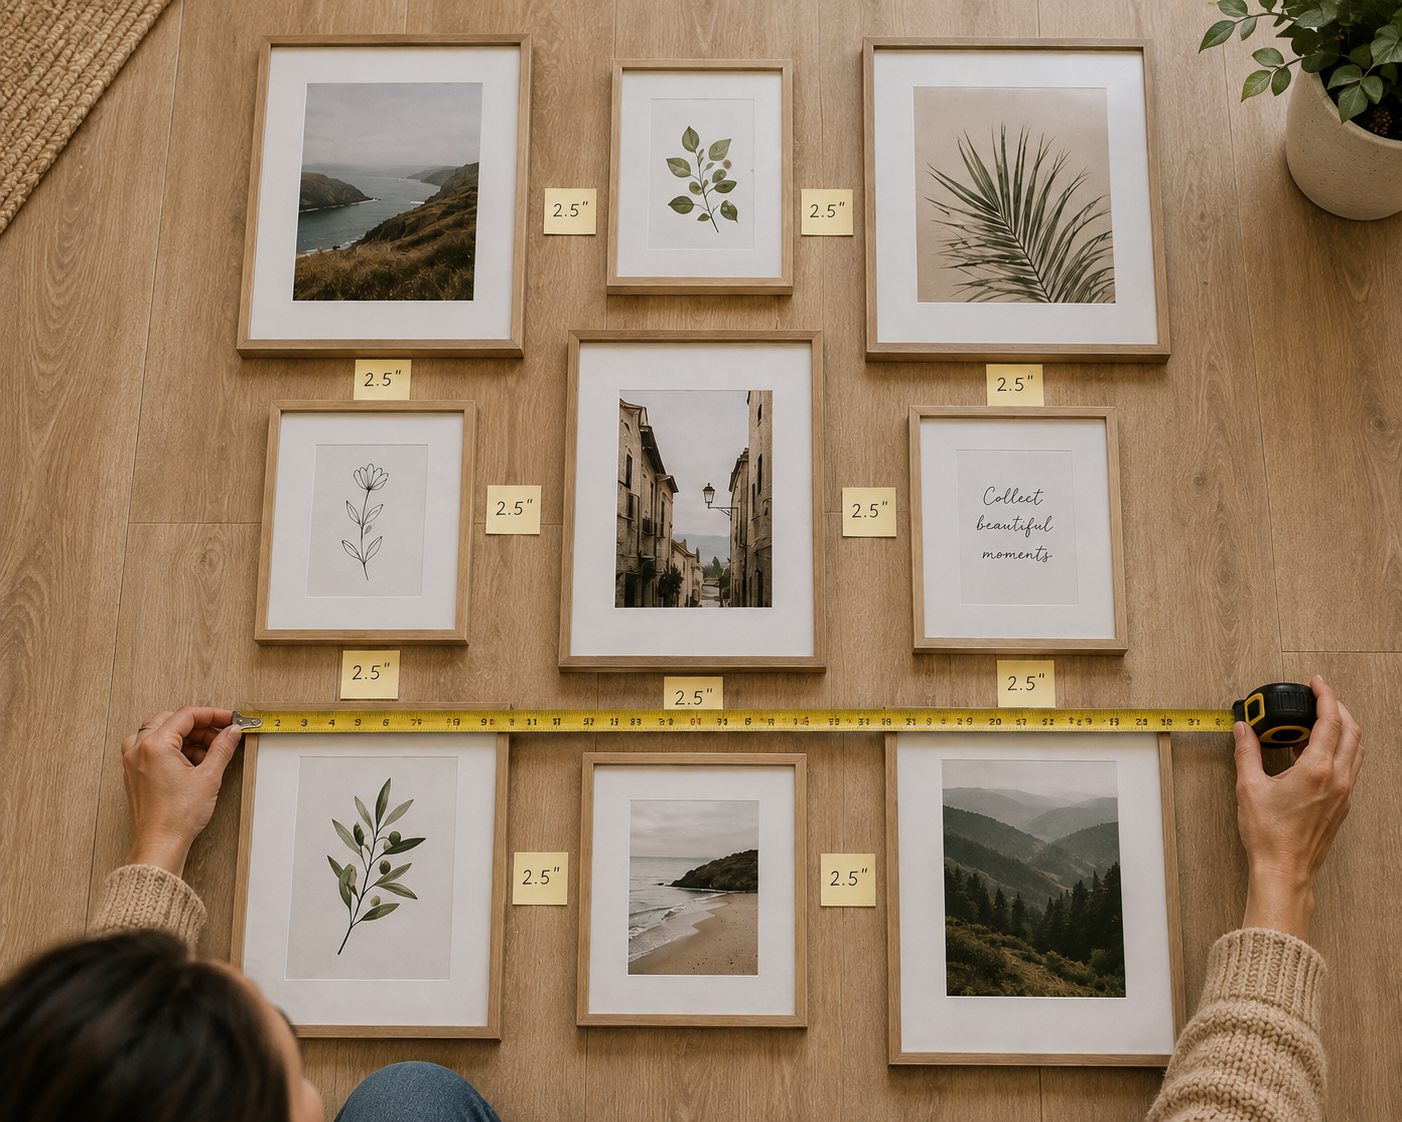
Photograph it when you're happy. This is not optional. You will not remember the arrangement, and the photo is what you'll be working from for the next hour.
Step 4: Make paper templates
Trace each frame onto paper newspaper, wrapping paper, whatever you have. Cut them out. Write on each one which frame it is and, crucially, where the hanging hardware sits relative to the top edge.
That last detail is the one people miss. A frame with a wire hangs several inches lower than its hook; a frame with a sawtooth hangs almost at the top. Measure it: pull the wire taut upward and measure from the top of the frame down to the peak. That's your offset.
Then tape the paper templates to the wall in the arrangement from your photo. Painter's tape, so it comes off cleanly.
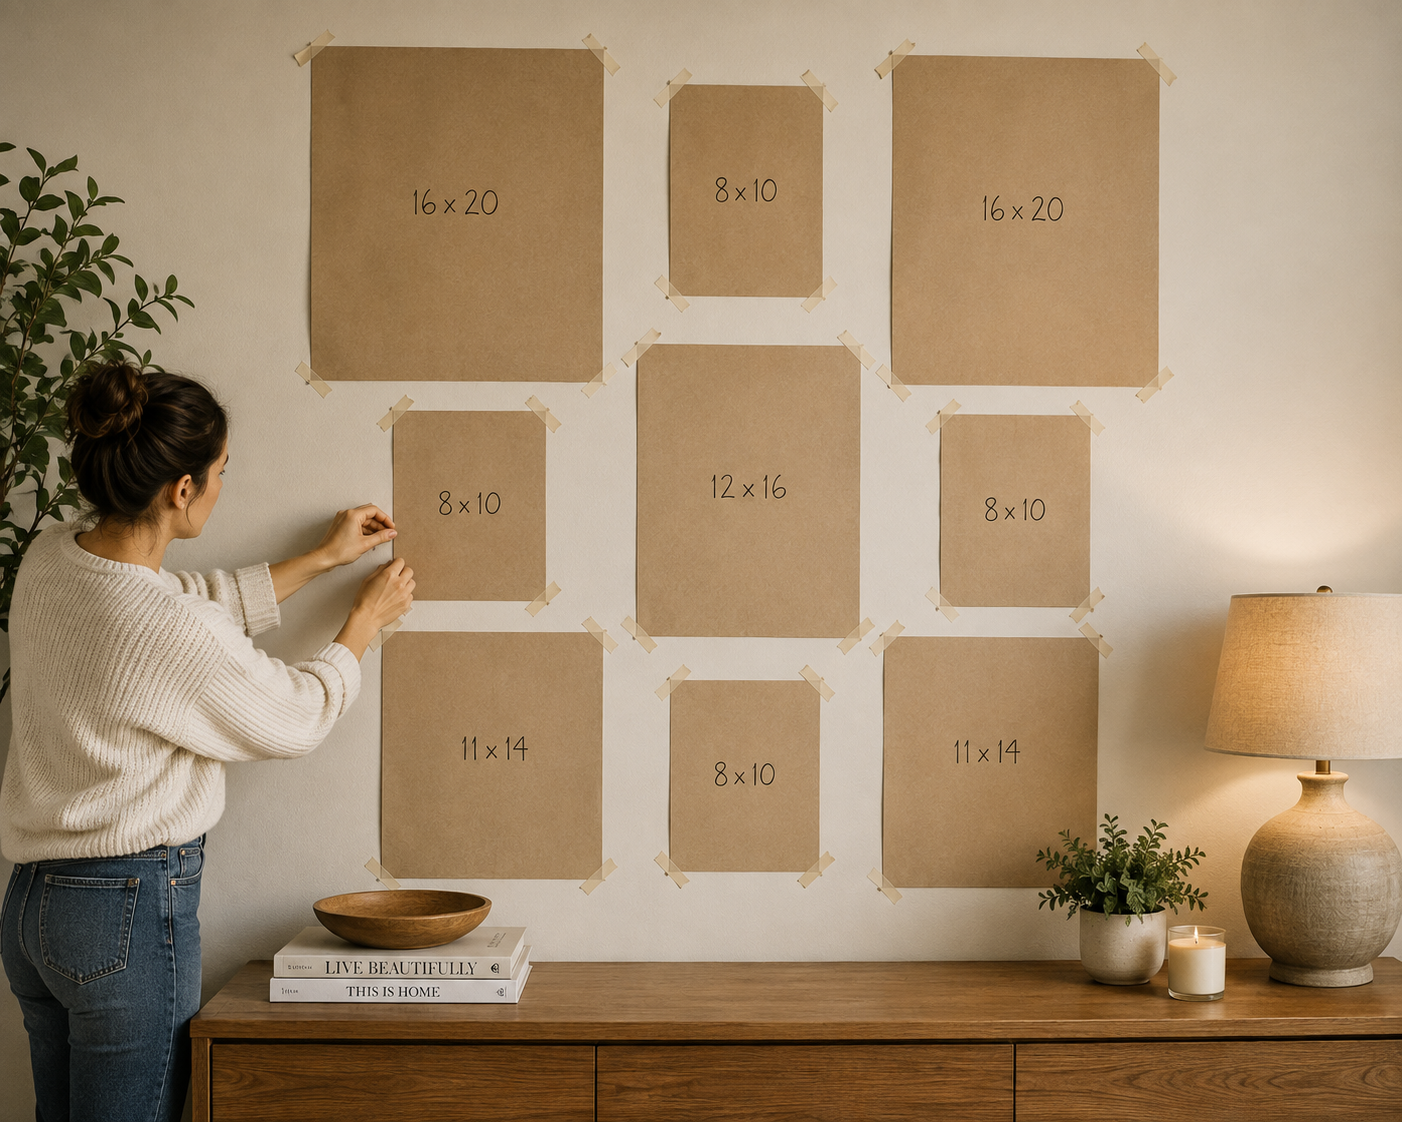
Live with the paper for a day. Walk past it. Look at it from the doorway. It costs nothing to move a piece of paper and a lot to move a nail.
Step 5: Hang from the middle out
Mark through the paper where each nail goes push a pencil through the template at the hardware point, so the mark is on the wall behind it.
Then hang the anchor piece first, and work outward from there. Errors accumulate, and accumulating outward from the center distributes them evenly. Working left to right pushes every small error into the far end.
A level is worth using. Phone levels are fine for single frames but awkward for a group. A cheap laser level makes a grid arrangement dramatically easier and takes ten minutes off the job.
For heavier pieces, find studs, or use proper anchors rated well above the frame's weight. Drywall alone holds surprisingly little.
Step 6: The finishing details
Adhesive bumpers on the bottom corners of each frame. A few dollars, they stop frames sliding crooked and protect the paint. The single cheapest thing that makes a gallery wall look maintained rather than installed.
Check it after a week. Frames settle. A small adjustment then locks it in.
Take a photo from the doorway. Same test as always a photo flattens the arrangement into shapes and shows you whether the balance actually works. It's the test I use for whether a room's focal point is working → Living Room Focal Point: Why Your Room Feels Unfinished, and it applies here for the same reason.
What actually goes in the frames
Worth saying, because a well-planned wall of bad content is still a wall of bad content.
Mix content types. Photographs, prints, a piece of textile, a page from a book, something three-dimensional. All-photographs reads as a memorial wall; mixed content reads as a life.
Include some negative space. Images that are busy edge to edge get exhausting in a group. Calmer pieces let the eye rest.
Repeat something. One color appearing across three or four pieces ties the whole thing together — the same repetition principle that makes mismatched furniture work → Does Furniture Have to Match?. This is what makes a gallery wall of unrelated things look deliberate.
Frames don't have to match, but they should share something. All the same color, or all the same material, or all with white mats. One shared property is enough.
Cheap prints in good frames beat expensive prints in cheap frames, every time. A set of matching frames and some free downloadable art will outperform a random assortment at three times the price.
Renting? Read this bit
Most leases allow small nail holes and expect them to be filled. But if you can't put holes in the wall:
- Adhesive strips rated well above the frame weight. Read the rating and believe it. They fail in heat and humidity, so avoid bathrooms and sun-facing walls.
- A picture rail, if the apartment has one many older buildings do, and people paint over them without realizing what they are
- Leaning frames on a shelf, a console, or the floor. Lower effort, genuinely good-looking, zero holes.
- A tall narrow ledge shelf, which needs two anchors instead of nine.
More renter-safe methods in the guide to decorating without drilling → Day 16: How to Decorate When You Can't Paint or Drill.
The whole method, short
- Pick grid or organic. Commit.
- Measure the wall rectangle you're filling two-thirds of the sofa width, or with generous margins
- Lay it out on the floor. Shuffle. Photograph it.
- Trace paper templates, marking where the hardware sits
- Tape templates to the wall. Live with them a day.
- Mark through the paper, hang from the center outward
- Bumpers on the corners
The second time I did this, it worked because I spent an hour on the floor and a day looking at paper. The hanging itself was the easy part it always is, once you've already made every decision.
Affiliate Disclosure
Some links in this post are affiliate links. If you buy something through one, GlamNestStudio may earn a small commission it doesn't cost you anything extra. I only link to things I'd recommend to a friend, and I've used or genuinely researched everything mentioned here. It's what keeps the guides on this site free.
Before you go
More on the walls, proportions and measurements that quietly decide how a room reads, across the guides on GlamNestStudio.